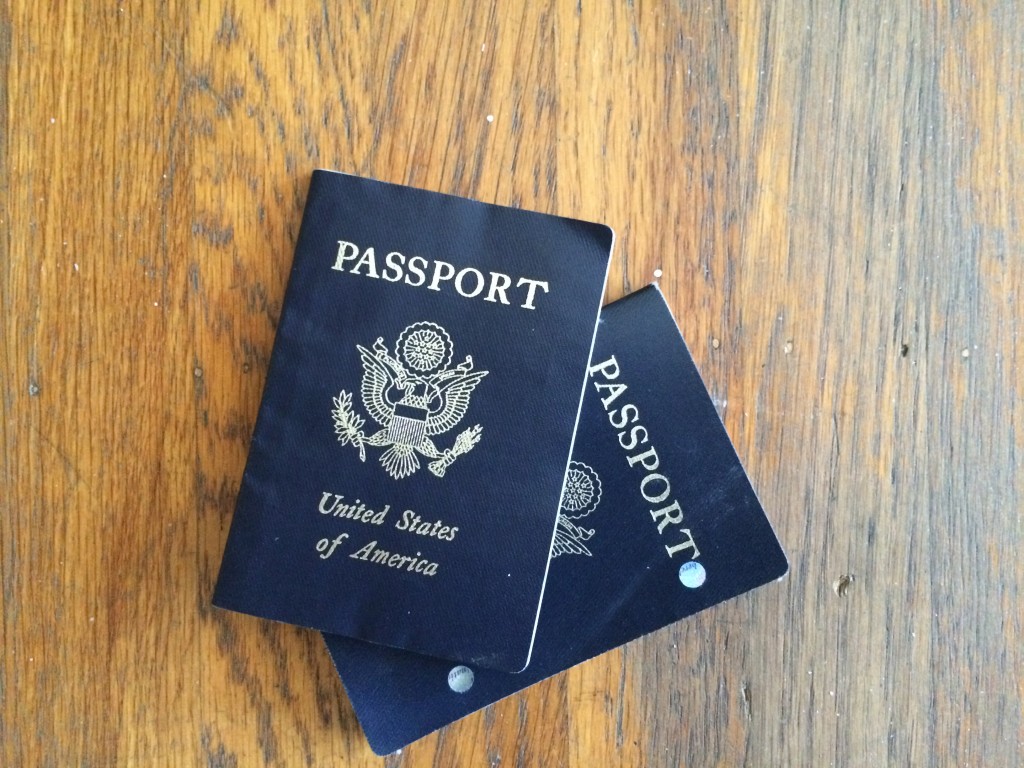
How do I update my passport in a pinch?
Advice on how to get the most out of your travels!
Thursday: Showed up for appointment and submitted the necessary documents
Friday: New passport in hand
Following Tuesday: International travel without a hitch!
The details on how I pulled off this amazing feat below…
Items Needed
The first step is to make sure you have all of the necessary items. I can’t imagine many things worse than dealing with the passport office only to discover you missed an important piece of information and need to return at a later date.
- A printed, filled out Form DS-5504 – I was asked for this at the check-in window so sadly, I would advize against counting on using your waiting time to fill it out.
- Your current passport – this post is focused on changing a passport, so it assumes readers have had a passport in the past.
- Your name change document (original or certified copy) – They will keep your document until the processing is finished, so if you are more on top of things than I am and are updating your passport at the same time you are updating other documents, you will want to make sure to have more than one copy of the marriage license.
- Color passport photo – make sure your picture is legit, having a blurry or inappropriately sized photo has crushed the dreams of many a passport seeker. I recommend going to Walgreens ($11.99 for two) or your local convenience store. Most do passport photos and Walgreens has a free re-do policy if for some reason your picture is rejected.
- Proof of travel within 14 days – you are only eligible for the expedited processing if your travel is imminent. I just brought a printed copy of my email itinerary and that was sufficient
- A credit card, cash or check for $170 – $110 is the normal passport fee and $60 for expediting. I personally think the $60 is worth it. The alternative of sending it through the mail and waiting for weeks always makes me nervous. Note: if your passport is less than a year old then you do not need to pay the $110 fee for a name change. Still need to pay the expedite charge though.
- A book or something to entertain you – spoiler alert: I had to wait an hour and a half, even with an appointment.
The Process
1. Make an appointment – a relatively simple process. You call the automated appointment line at, 1-877-487-2778, available 24/7. The system rather painlessly leads you through the process of setting up an appointment. Note of caution: have paper and pencil handy as you must bring your confirmation number with you to your appointment. Be prepared,they spew off the confirmation number so fast that you will likely miss it the first time around. Unfortunately, when you ask to get the confirmation number repeated, you will also need to hear 4 minutes of other instructions repeated as well. It’s good to be mentally prepared for this part of the call. I called on a Monday night and booked an appointment for that Thursday at 11:30am.
2. Show up for your appointment – A Passport appointment isn’t like a haircut appointment, there is no sweet hair dresser anxiously awaiting your arrival and pleased to help you immediately. Get mentally prepared for this experience as well. The first step is to go through the metal detector and put all bags through an x-ray device.
3. Check-in for your appointment -Next, go to the check in window, there should be a separate check in window for people with appointments. At this point, you will need to have all of the required documentation completed along with your appointment registration. The check-in agent will review that your information is complete and will then give you a computer generated number.
4. Wait for your number to be called – This is the rough part. I don’t know why I thought having an appointment would make this part more pleasant. When I checked in, I was given number 639. I sat down and heard the system call number 606. From there, numbers were called, on average, every 3 minutes. Thanks to a couple no-shows, that translated to 90 minutes of waiting.
5. Go to your assigned window and get the card processed! – Everything is on the up and up from here. The person who served me, John, was extremely pleasant considering the circumstances. When I asked him about the long wait he claimed that they were short staffed today but was kind and patient with me. My totally processing time took 3 minutes. He then said my card would be ready to pick up as soon as noon the next day!
6. Pick up your passport – The pick up window at the San Francisco office is open from 12 – 4PM daily, you will want to check the times for your own local office. Simply return to the office, wait in line at the pick-up window and get your new passport, along with any other documentation you provided, including your old, now invalid passport. The worst time to go is 12PM, I saw the line while waiting for my appointment and it was much longer than the line in the middle of the afternoon. Likely because the window just opened and people are trying to go over their lunch break.
I wish I had anticipated the wait during the appointment and brought a book, but other than that it was a pretty painless process.
For the official State Department instructions, go here: Change or Correct a Passport
For a list of all regional Passport Agencies, go here: Regional Passport Agencies